Screen Printing
What is Screen Printing?
Screen printing, also known as silkscreen printing or serigraphy, is a widely-used printing technique that involves using a mesh screen to transfer ink onto different materials like fabric, paper, or even glass. The screen is prepared by blocking out areas that shouldn't receive ink, leaving open spaces to create the desired design.
Screen printing has a broad range of applications across various industries.
T-shirt printing: Custom-designed t-shirts for individuals, events, businesses, and organizations are commonly created using screen printing.
Posters & signage: High-quality posters, banners, and signs for advertising, promotions, and decoration are often produced through this method.
Textile printing: Screen printing is used to print on clothing, bags, and home furnishings.
Ceramics & glass: It can also be used to decorate ceramic and glass surfaces, adding intricate designs to tableware and glassware.
Electronic components: Screen printing plays a role in the production of electronic components, such as circuit boards and displays.
The popularity of screen printing stems from its numerous benefits:
Versatility: Screen printing can be used on a wide range of materials, making it highly adaptable.
High quality & durability: It offers excellent print quality, vibrant colours, and exceptional durability, making it suitable for long-lasting designs.
Cost-effective for bulk printing: Screen printing becomes more cost-effective for large production runs, making it ideal for printing bulk orders of t-shirts, posters, and other items.
Customisation: The process allows for easy customisation, making it ideal for unique and personalised designs.
Inks & effects: Screen printing offers a wide range of ink types and special effects, such as metallic or glow-in-the-dark inks, adding creativity and uniqueness to the prints.
Simple & eco-friendly: The screen printing process is relatively simple and environmentally friendly, using fewer chemicals and producing less waste compared to some other printing methods.
Overall, screen printing's versatility, cost-effectiveness for large quantities, and ability to produce high-quality prints on various materials make it a popular choice for commercial printing and custom-designed products in diverse industries.
Getting Started with Screen Printing
In this section, we will explore the basic concepts of screen printing and the essential materials needed to begin your screen printing journey.
Basic Concepts of Screen Printing:
Stencil Method: Screen printing relies on a stencil to transfer ink onto the printing material. The stencil is created by blocking out areas on a fine mesh screen, allowing ink to pass through only the open areas onto the material below.
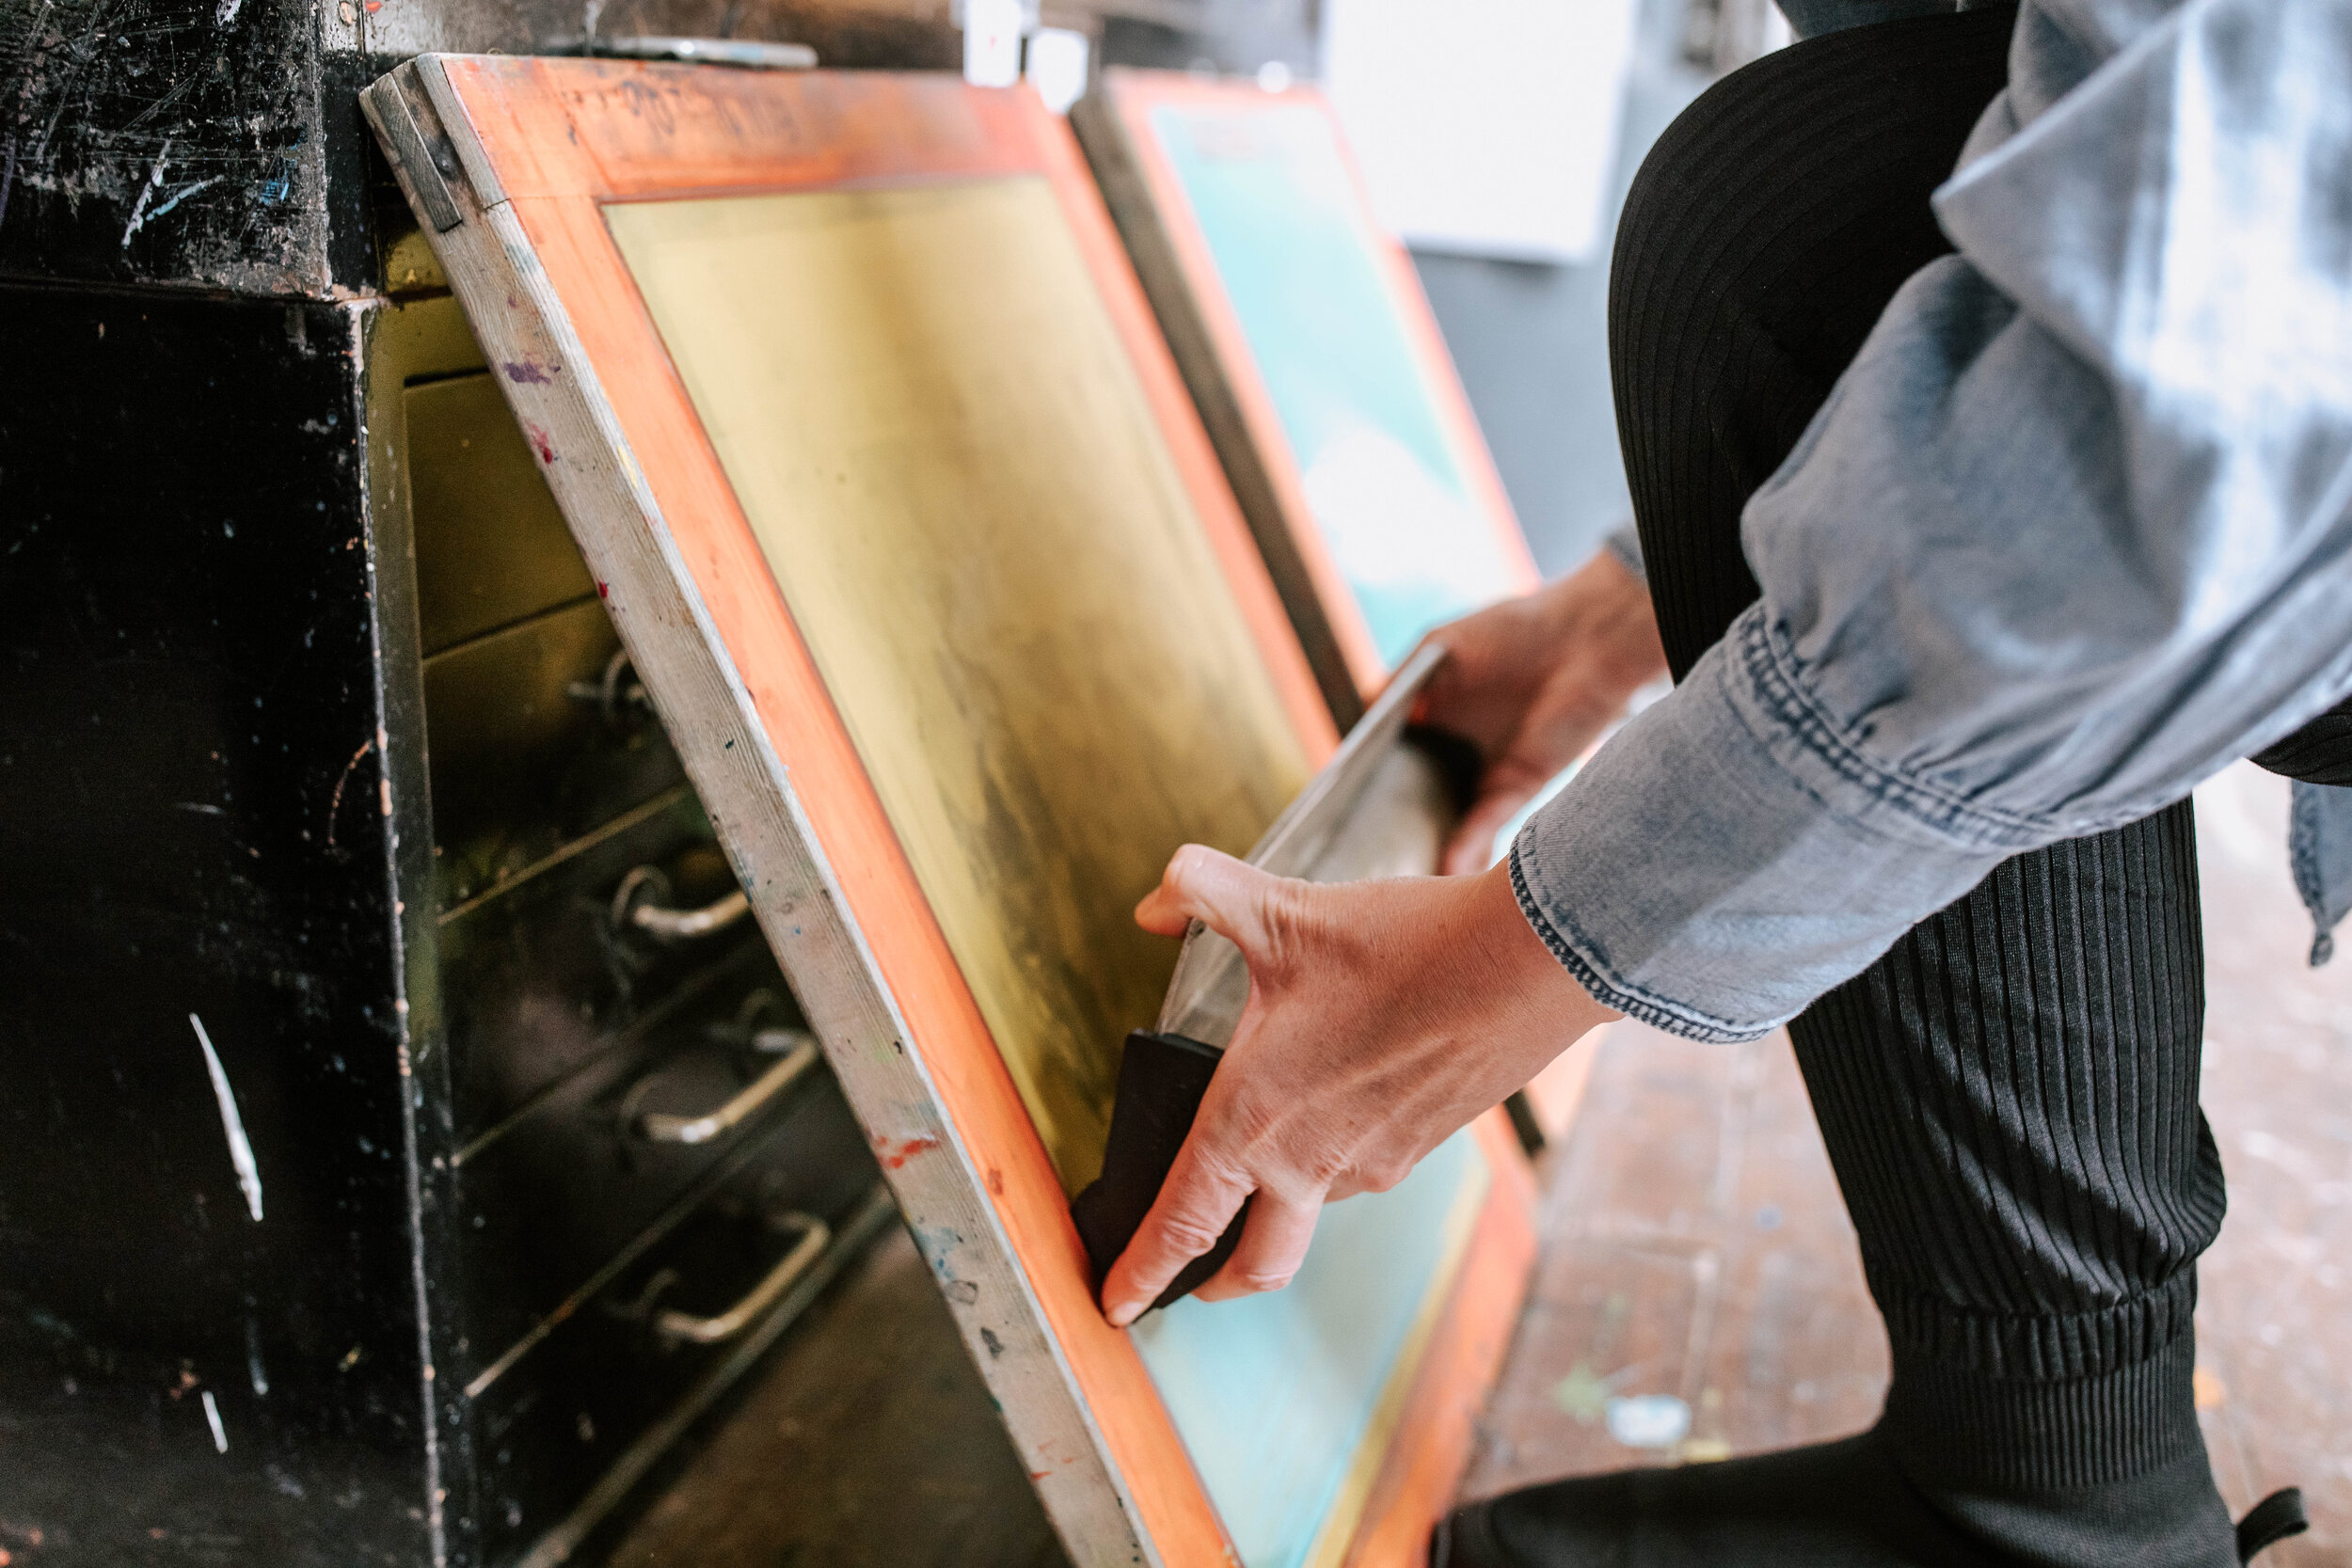
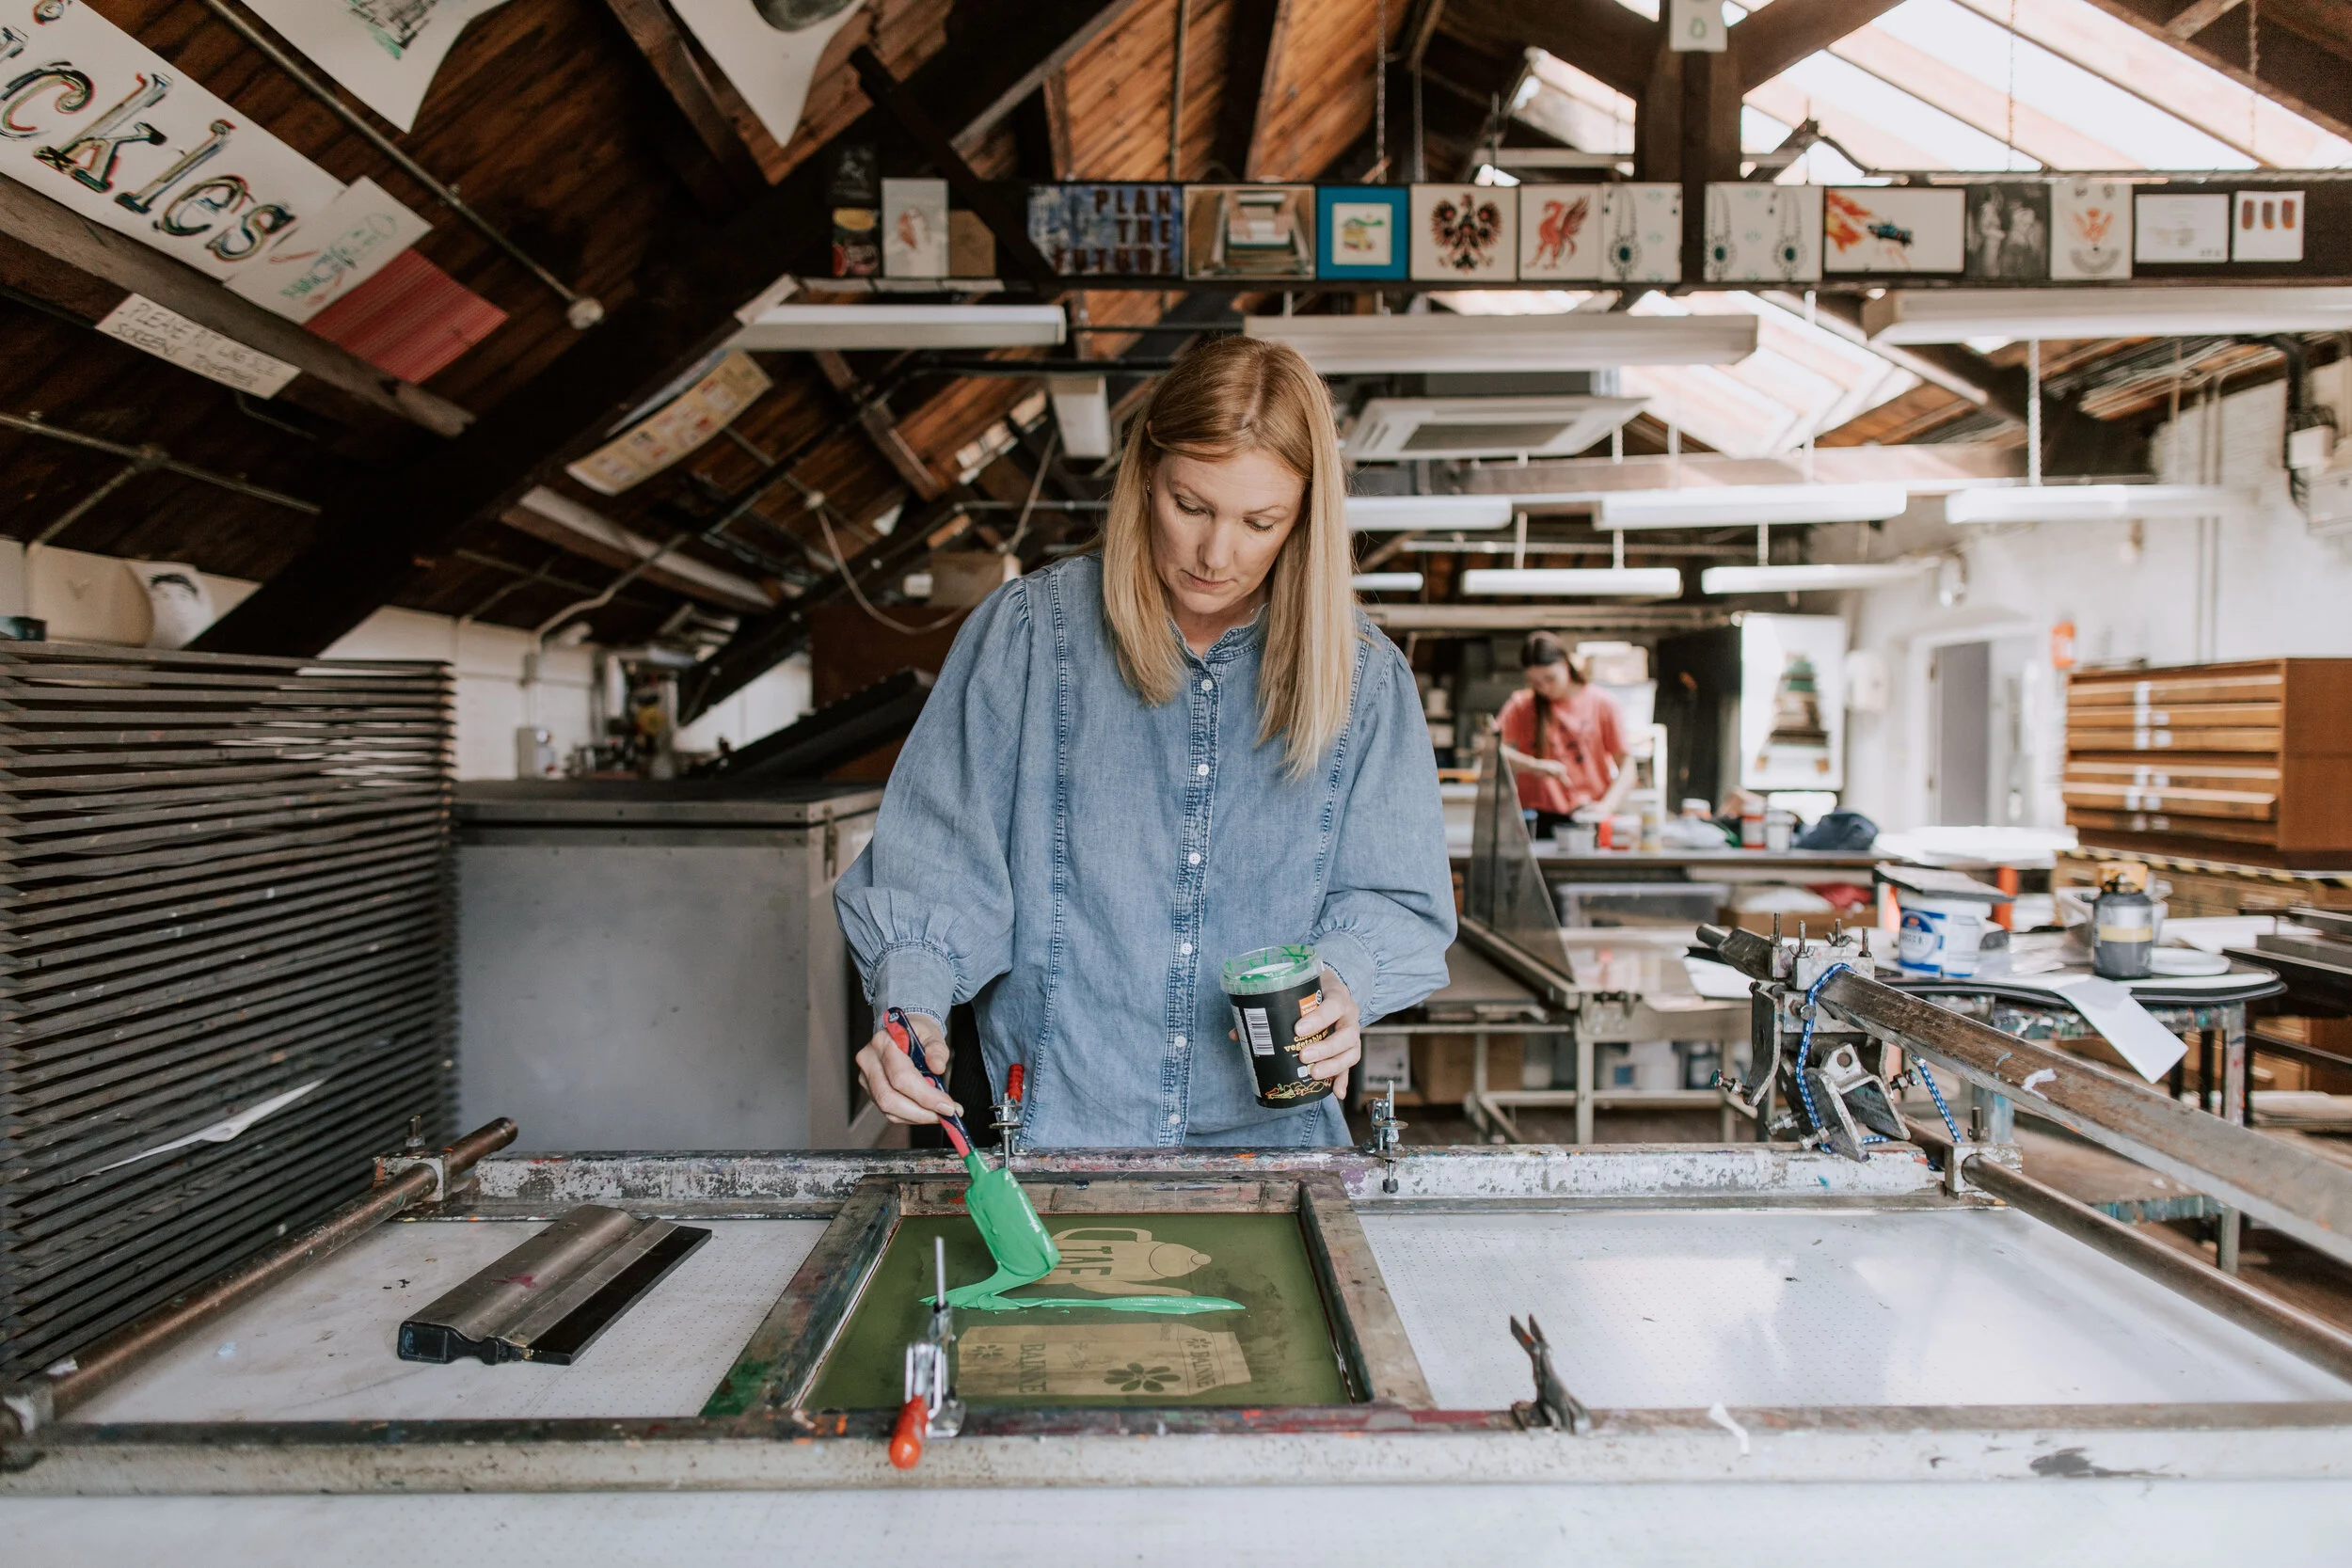
Ink Transfer: A squeegee is used to push ink through the open areas of the screen onto the material, creating the printed design. Each color in the design requires a separate screen and a pass with the squeegee.
Layering Colours: Screen printing allows for layering different colours on top of each other, creating vibrant and multi-coloured designs.
Versatility: Screen printing can be applied to a wide range of materials, including fabrics, paper, plastics, glass, and metal.
Essential Materials for Screen Printing:
Screens: Screens are the foundation of screen printing and are made of fine mesh stretched over a frame. The mesh count (threads per inch) determines the level of detail in the print. Lower mesh counts are suitable for bold designs, while higher mesh counts are used for finer detail.
Squeegees: Squeegees are used to press the ink through the screen and onto the printing material. They come in different sizes and shapes, depending on the project's requirements.
Inks: Screen printing inks are specially formulated for the process. They come in various types, including water-based, plastisol, and discharge inks, each offering unique characteristics and benefits.
Emulsion & Sensitiser: Emulsion is a light-sensitive material applied to the screen, which becomes hardened when exposed to light. Sensitiser is mixed with the emulsion to activate its light-sensitive properties.
Exposure Unit or Light Source: An exposure unit or a strong light source is used to expose the screen after the emulsion has been applied, transferring the design onto the screen.
Printing Substrate: This refers to the material onto which you'll print your design, such as t-shirts, posters, or other surfaces.
Printing Press: A printing press holds the screen securely and helps maintain consistent pressure during the printing process, ensuring precise and even prints.
Cleaning Supplies: Cleaning chemicals and tools are essential for maintaining and cleaning screens, squeegees, and other equipment after printing.
Design Software or Artwork: To create or manipulate your designs, you'll need access to graphic design software such as Adobe Illustrator or CorelDRAW.
By gathering these essential materials and understanding the fundamental concepts of screen printing, you are well-equipped to embark on your screen printing endeavors. As you gain experience and confidence, you can explore more advanced techniques and materials to expand your creative possibilities.
Preparing the Artwork
Before you can start screen printing, you need to have suitable artwork that can be transferred onto the screen to create the stencil for printing. Whether you're creating your own design or selecting existing artwork, the key is to ensure it is suitable for the screen printing process.
Create Original Artwork: If you're starting from scratch, consider the following tips for creating original artwork:
Use Vector Graphics: Design your artwork using vector graphics software like Adobe Illustrator or CorelDRAW. Vector graphics allow for easy scaling without loss of quality, ensuring your design looks crisp at any size.
Simple and Bold: Opt for simple and bold designs with well-defined lines and shapes. These types of designs work best with screen printing, as intricate details may not translate well onto the screen.
Limited Colours: Screen printing is typically done using a limited number of colours. Keep your colour palette minimal to make the printing process more manageable.
Selecting Existing Artwork: If you're using existing artwork, ensure it meets the requirements for screen printing:
High Resolution: The artwork should be in high resolution, preferably 300 DPI (dots per inch) or higher, to ensure clarity and sharpness when transferred to the screen.
Permission and Copyright: Make sure you have the necessary permissions or licenses to use the artwork for commercial purposes if applicable.
Prepare the Artwork for Screen Printing: Regardless of whether you create original artwork or use existing designs, you'll need to prepare the file for the screen printing process:
Size and Placement: Determine the size of the artwork as it will appear on the printing material. Consider the placement of the design on the material, whether it's centered, off-center, or placed in specific locations.
Colour Separation: If your design includes multiple colours, you'll need to separate them into different layers. Each colour will require its own screen for printing.
Convert to Halftones (if necessary): If your design includes gradients or continuous tones, you'll need to convert them into halftones, which use tiny dots to create the illusion of shading or gradients.
Mock-Up and Test Print: Before exposing your screen, it's a good idea to create a mock-up of how your design will look on the printing material.
This will give you an idea of how the final product will appear. Additionally, consider doing a test print on a sample material to check for any issues or improvements needed in the design before moving forward with the actual printing.
By following these steps and guidelines, you'll ensure that your artwork is well-prepared for the screen printing process, resulting in high-quality prints that accurately represent your original design.
Preparing the Screen
In the screen printing process, Section 3 involves crucial steps for preparing the screen before the actual printing can begin. This section outlines the selection of the appropriate mesh count for the screen and the process of coating the screen with emulsion. These steps are essential for achieving accurate and high-quality prints in screen printing.
1. Selecting the Appropriate Mesh Count
The mesh count refers to the number of threads or fibers per square inch in the screen fabric. It plays a vital role in determining the level of detail and texture that can be reproduced in the print. The general rule of thumb is that higher mesh counts are suitable for finer details and thinner ink deposits, while lower mesh counts are better for thicker inks and more substantial designs.
To select the appropriate mesh count:
Consider the design complexity: For intricate designs or those with fine details, opt for a higher mesh count. This will allow for better reproduction of small elements.
Think about ink type and thickness: Thicker inks require larger openings in the mesh to pass through, so a lower mesh count might be more suitable. Conversely, water-based or thinner inks work better with higher mesh counts.
Evaluate substrate type: Different materials (e.g., fabric, paper, plastic) require different mesh counts to achieve optimal ink adhesion and coverage. Research or consult experts to determine the best mesh count for your chosen substrate.
2. Coating the Screen with Emulsion:
Emulsion is a light-sensitive liquid that is applied to the screen mesh. It acts as a stencil, blocking the passage of ink through certain areas and allowing it to pass through others, creating the desired print pattern. Here's how to coat the screen with emulsion:
Materials Needed:
Screen frame with mesh stretched tightly
Emulsion (sensitised or pre-sensitised)
Emulsion scoop coater
Dark room or yellow safe-light environment
Light source (exposure unit)
Steps:
Prep the Screen: Ensure the screen mesh is clean and free from debris or residue. Any impurities on the mesh can affect the emulsion's adhesion.
Mix Emulsion: If using a two-part emulsion, follow the manufacturer's instructions to mix the emulsion components. Some emulsions come pre-sensitised, so no mixing is required.
Apply Emulsion: In a dark room or under a yellow safe-light, lay the screen flat on a clean surface. Hold the scoop coater at a slight angle and pour a line of emulsion along the top edge of the screen.
Coat the Screen: With gentle pressure, drag the scoop coater down the screen, spreading the emulsion evenly across the mesh. The coater's edge ensures a consistent emulsion layer thickness.
Flip and Repeat: After coating one side, flip the screen and repeat the process on the other side. This double-sided coating ensures complete coverage and prevents ink leakage during printing.
Dry the Screen: Allow the coated screen to dry in a dark and dust-free environment. A drying cabinet with controlled temperature and humidity is ideal. Drying times vary based on emulsion type and environmental conditions.
Exposure: Once the emulsion is dry, place the coated screen in an exposure unit. Place your design transparency or artwork on top of the emulsion-coated screen. The light from the exposure unit will harden the emulsion in the areas not covered by your design, creating the stencil.
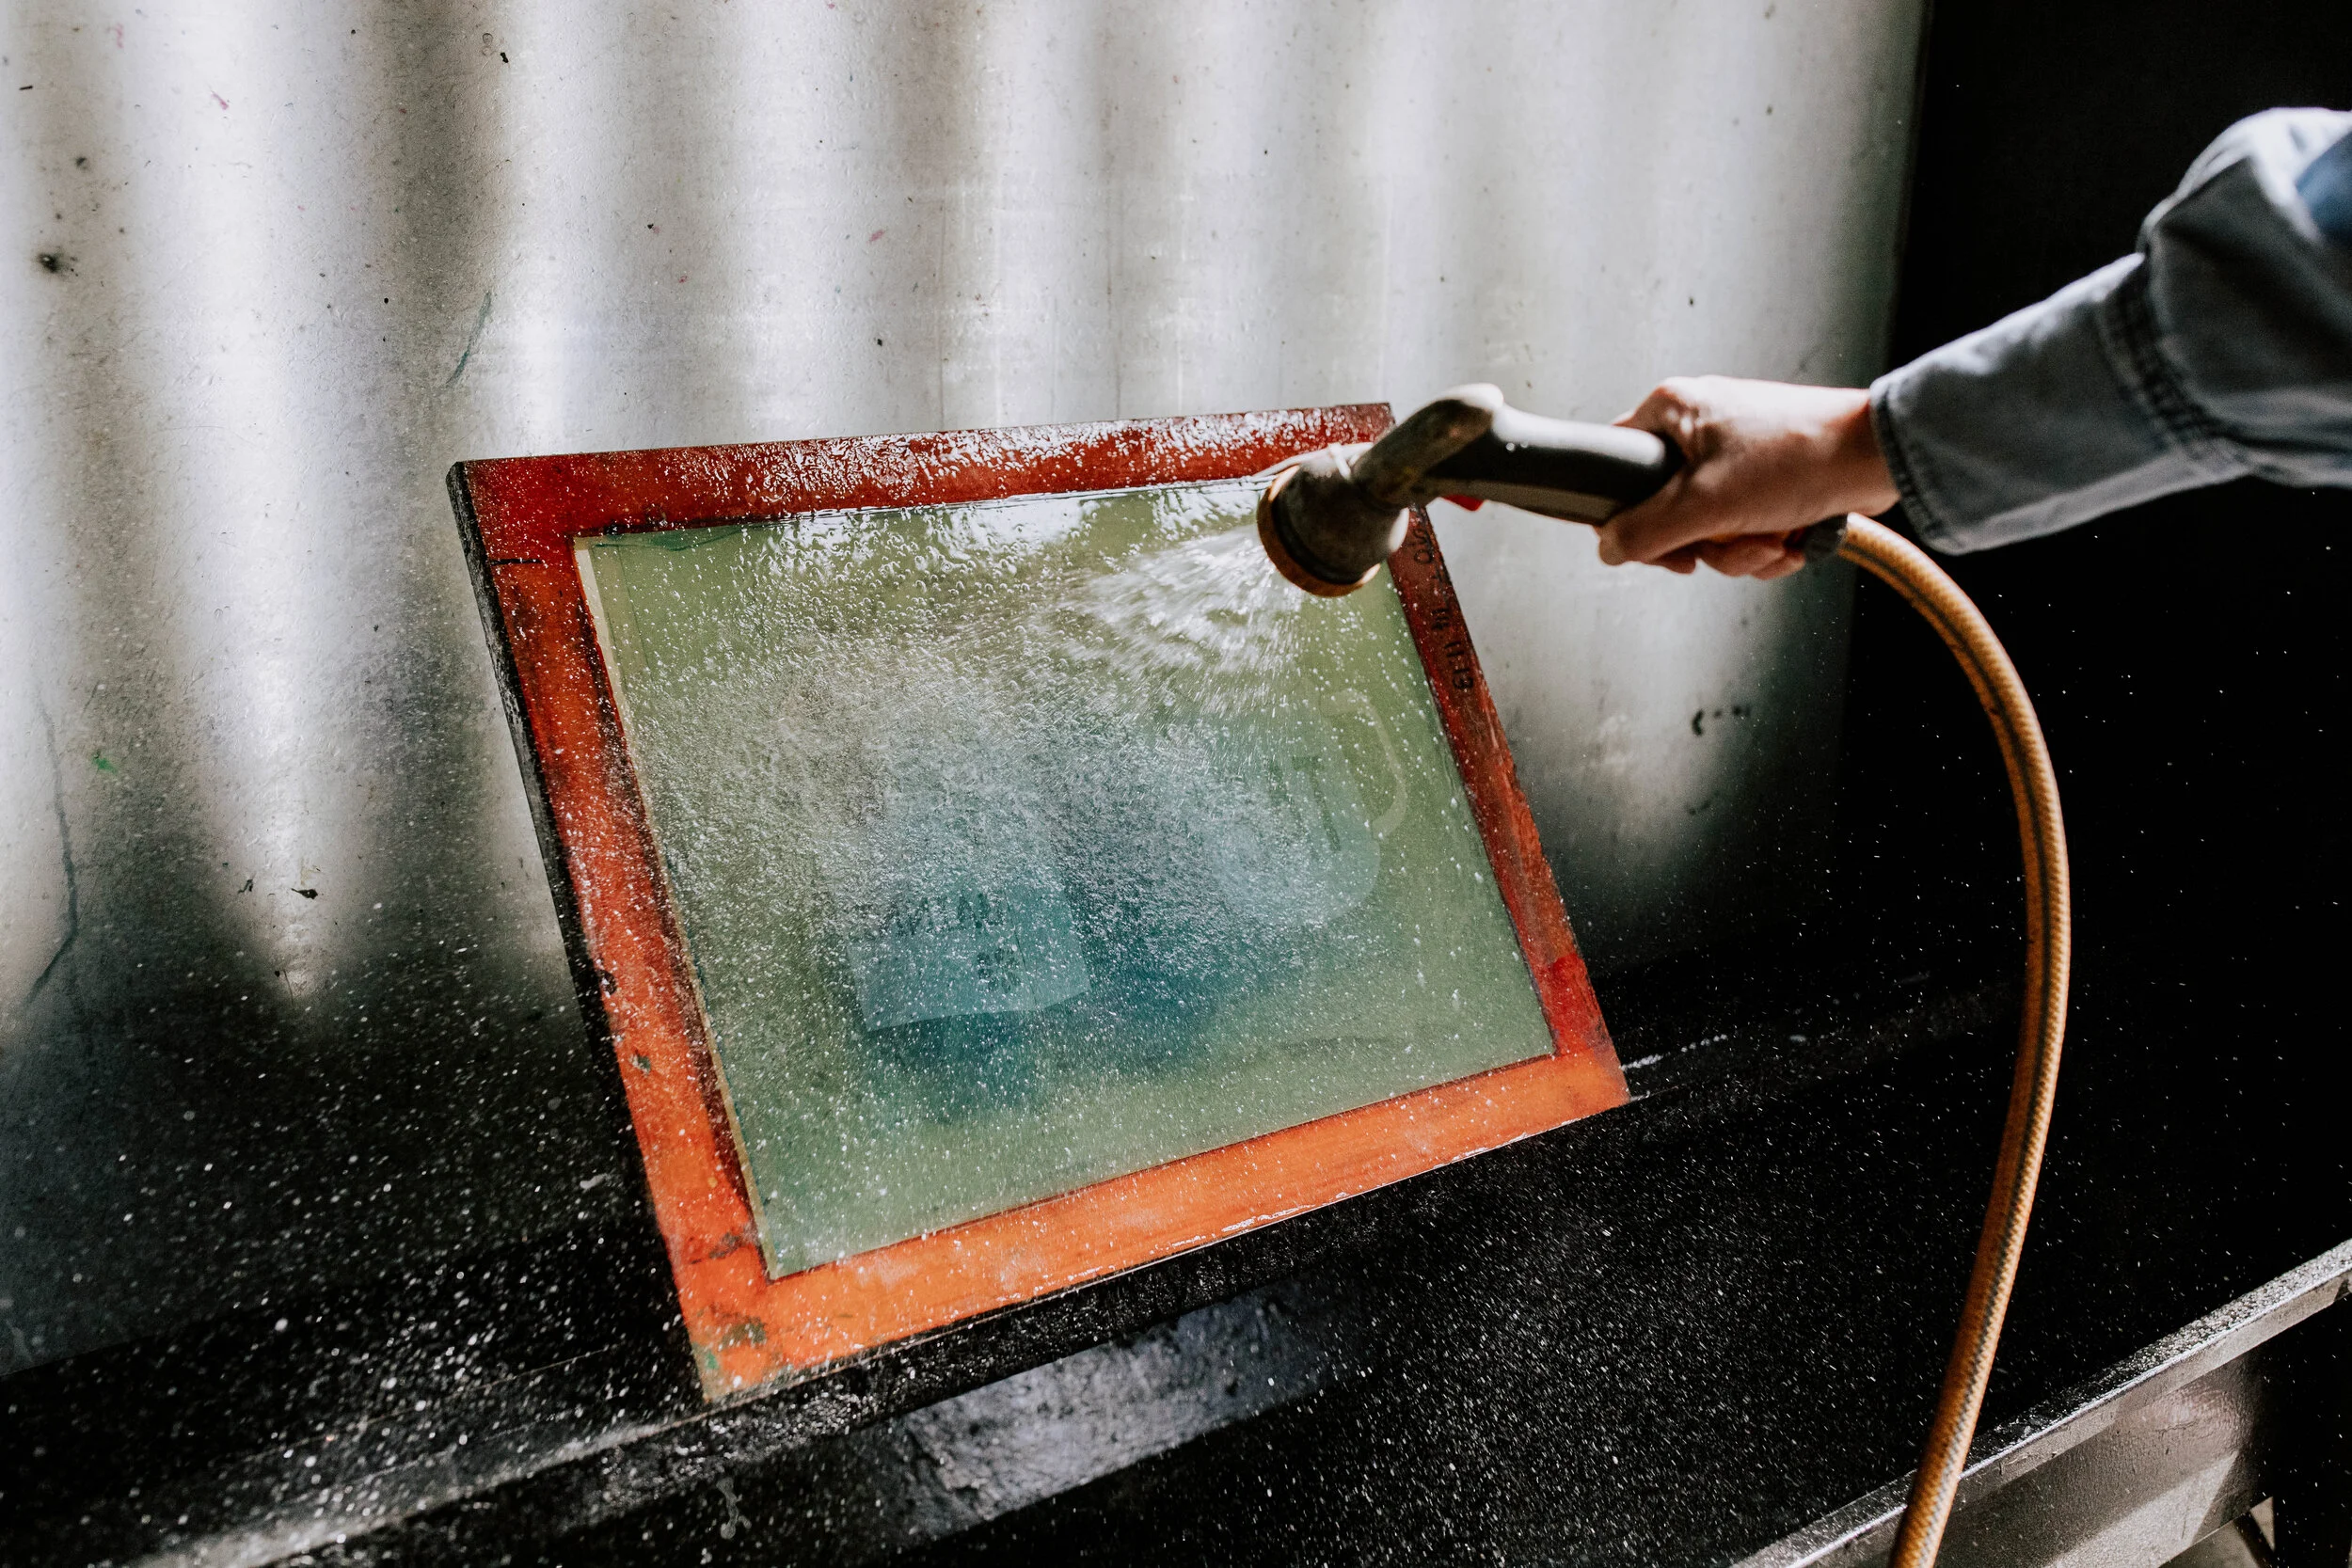
Wash Out: After exposure, wash out the screen with a gentle stream of water. The unexposed emulsion will dissolve, revealing the mesh beneath in the pattern of your design.
It's important to practice and refine these techniques to achieve consistent results for different designs and substrates.

What to bring?
BPW will provide all printing supplies, film positives, inks, aprons and safety gear and a limited supply of paper but we advise you to BYO paper for your final prints or you can purchase our in-house stock from the studio. (Coloured and patterned paper can produce great results also). Some old cloth rags always come in handy too.
What to wear?
Dress up or dress down but we advise against wearing your Sunday best! Inks spatter and fingers are clumsy – you get the picture! Limited number of Participants (6 maximum per course) so get in early folks!
Cancellations & Refunds
If BPW is obliged to cancel the course, we will issue a full refund. If you fully booked but cannot attend and need to cancel due to the limited number on course we operate a strict 14 working day notice in order to issue a refund.
If a last minute cancellation occurs we will try our best to fill your space however please understand we can only refund you if another booking is made. If you have booked more than one space we cannot guarantee that all the spaces will be re-sold, as we advertise each space individually. Please note that Participants must be at least 18 years old to enroll in the courses.
